
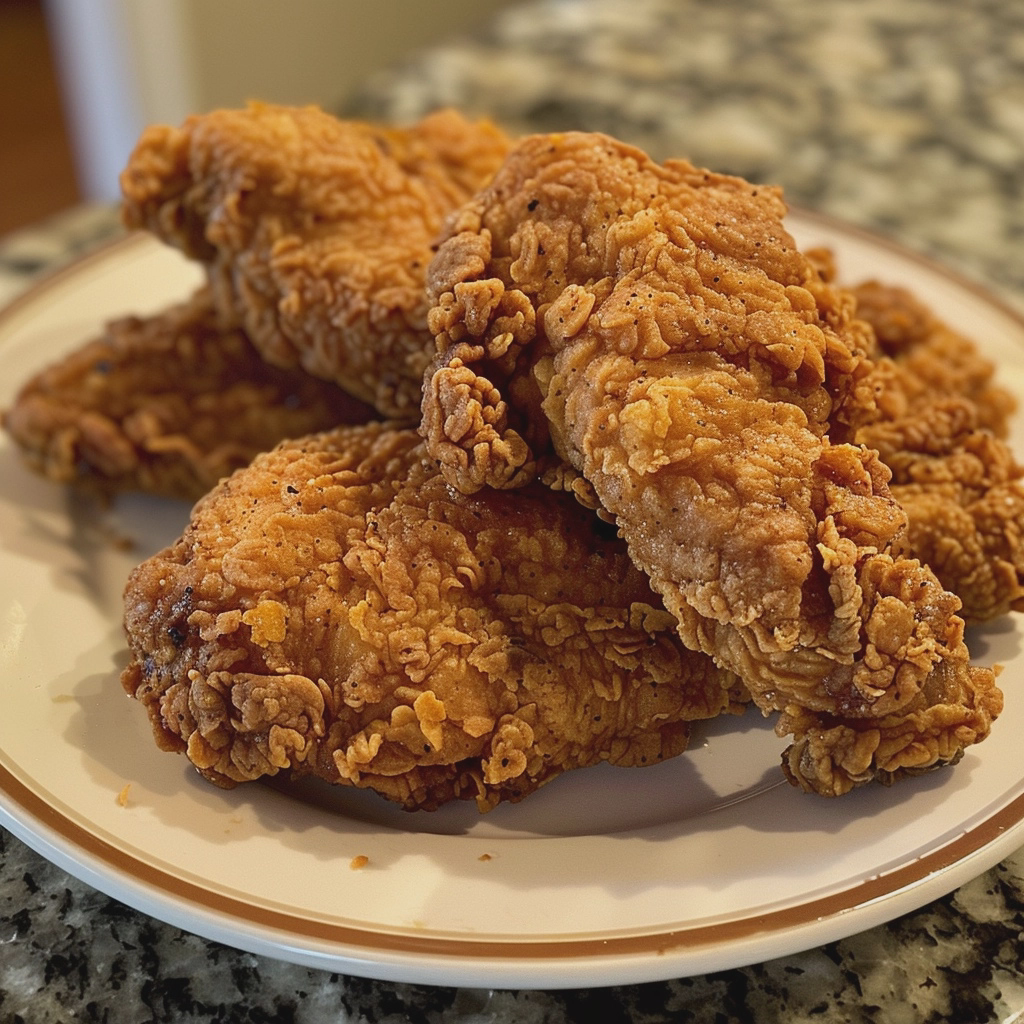
Chicken fried chicken without buttermilk captures the essence of classic Southern comfort food using a simple combination of milk and eggs. This preparation method creates a golden, crispy coating on tender breast meat by focusing on professional dredging techniques rather than dairy-based marinades. You can achieve restaurant-quality results at home using standard pantry staples while maintaining an authentic, savory flavor profile.
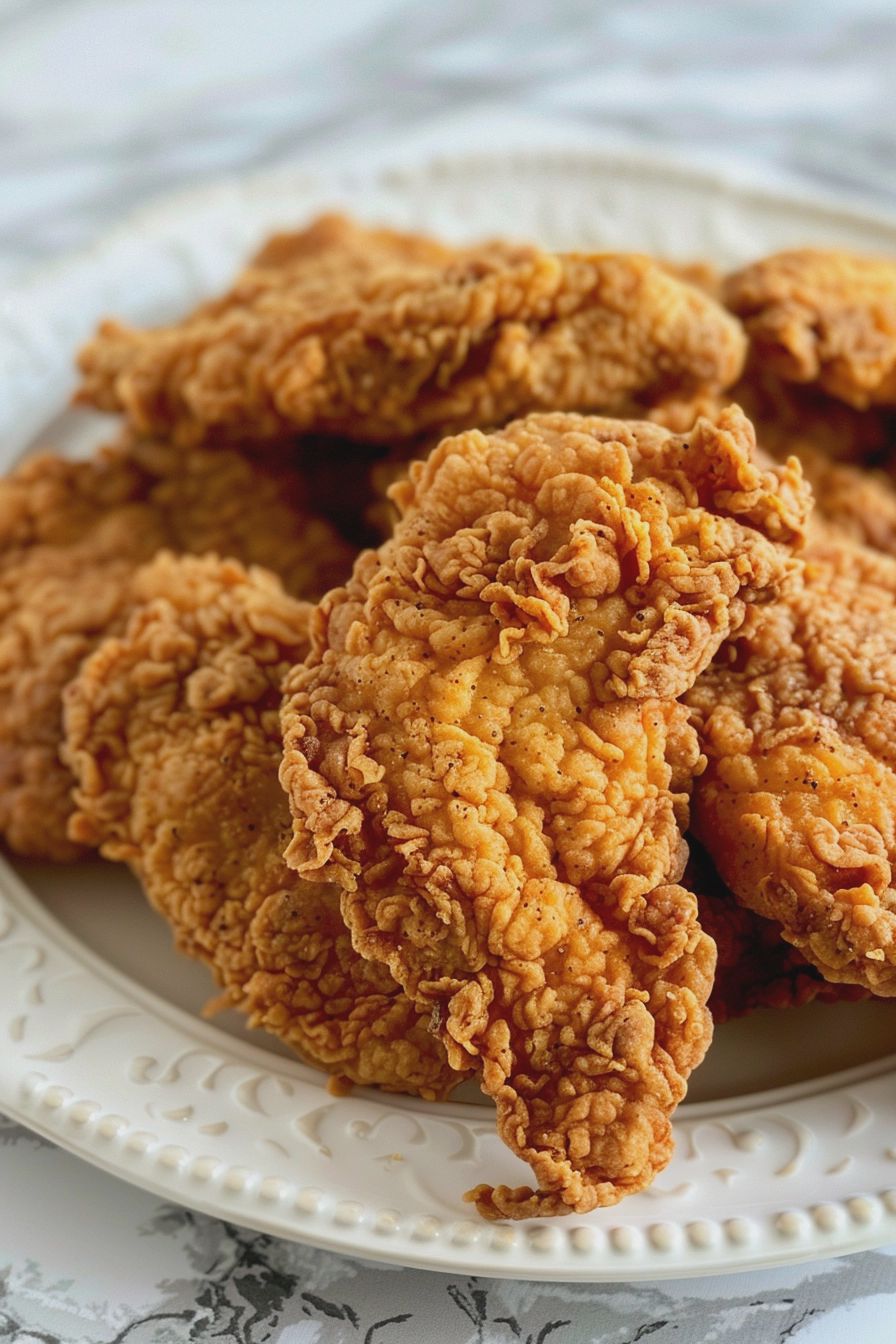
Recipe Overview
| Metric | Details |
|---|---|
| Prep Time | 20 minutes |
| Cook Time | 15 minutes |
| Total Time | 35 minutes |
| Servings | 4 servings |
| Difficulty | Easy |
| Cuisine | Southern American |
Why This Recipe Works
This recipe works because it relies on the mechanical strength of an egg and milk wash to adhere flour to the meat. Many people assume buttermilk is mandatory for Southern-style frying, but home cooks can achieve perfect adhesion through systematic coating processes and proper oil temperature management.
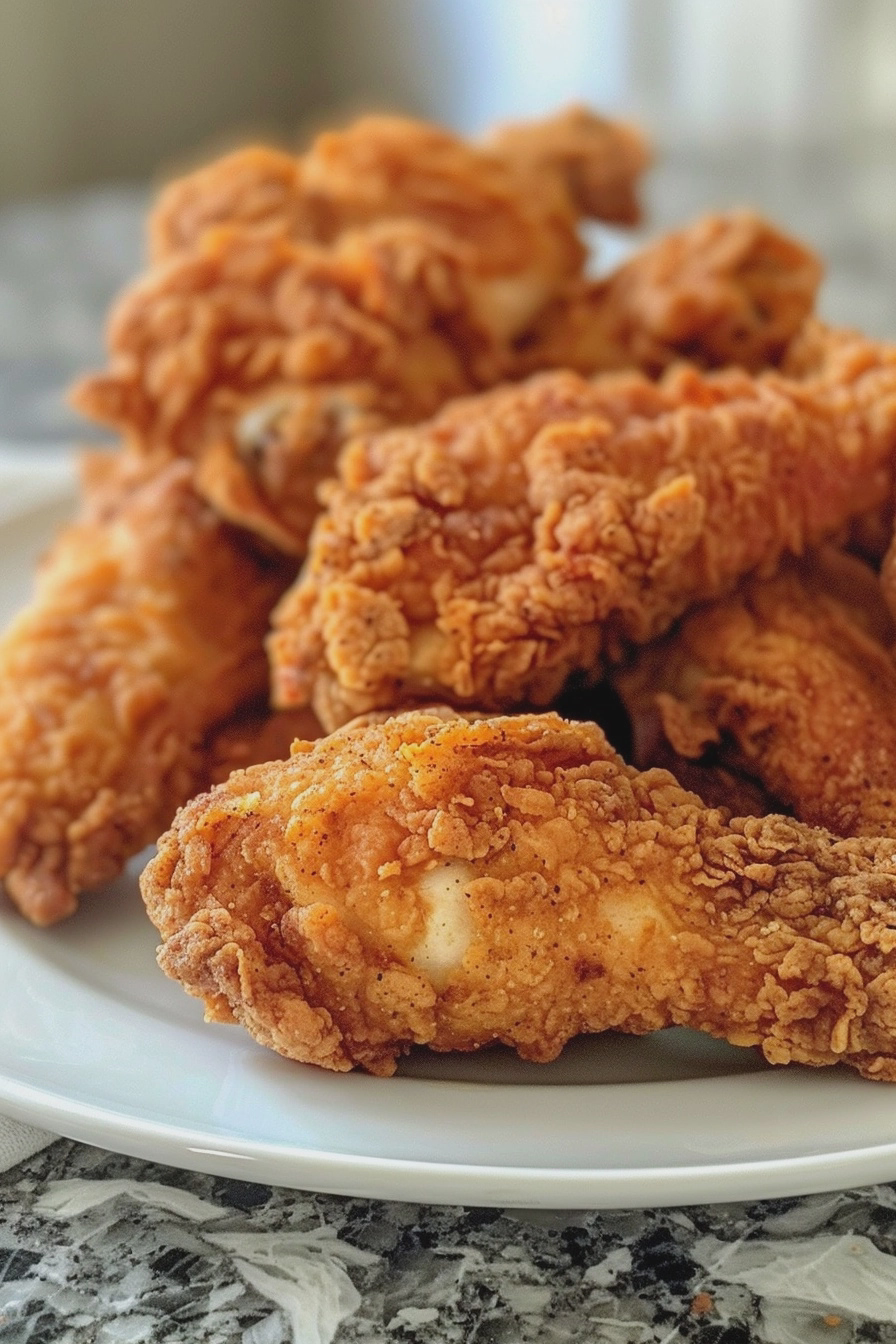
My experience in the kitchen has taught me that the secret lies in the quality of the flour crust. By seasoning the flour heavily with cayenne and paprika, you build flavor directly into the exterior, ensuring the crust is just as savory as the juicy breast meat inside. This approach provides a crisp, crackling finish that holds up perfectly under a rich, creamy gravy.
Ingredients
| Ingredient | Quantity | Notes |
| Chicken Breasts | 4 pieces | Pounded thin to 1/2 inch |
| All-Purpose Flour | 2 cups | Base for the dredge |
| Large Eggs | 2 units | Binding agent |
| Whole Milk | 1/2 cup | Substitute for buttermilk |
| Cayenne Pepper | 1 tsp | Adjust for heat |
| Paprika | 2 tsp | For color and depth |
| Salt | 1 tbsp | Kosher salt preferred |
| Black Pepper | 1 tbsp | Freshly cracked |
| Vegetable Oil | 3 cups | High smoke point oil |
Step-by-Step Instructions
Preparation and Seasoning
- Pound the chicken breasts between two sheets of plastic wrap until they reach a uniform thickness of one-half inch.
- Combine the flour, salt, black pepper, cayenne, and paprika in a wide, shallow bowl for the dry coating.
- Whisk the eggs and milk together in a separate shallow dish to create the liquid binding station.
Dredging and Frying
- Coat each chicken breast thoroughly in the flour mixture, shaking off any excess.
- Dip the floured chicken into the milk and egg mixture until completely submerged.
- Transfer the chicken back into the flour mixture, pressing firmly to ensure a thick crust adheres to the surface.
- Heat the vegetable oil in a heavy-duty cast iron skillet until it reaches 350°F on a deep-fry thermometer.
- Fry the chicken for 4 to 5 minutes per side until the exterior is deep golden brown and crispy.
Chef Tips for Perfect Results
- Maintain a consistent oil temperature throughout the frying process to prevent the crust from becoming greasy or burnt.
- Use a wire cooling rack placed over a baking sheet to drain the finished chicken to keep it crispy.
- Press the flour mixture firmly onto the chicken during the second dredge to create the signature craggy crust.
- Let the chicken rest for five minutes before serving to ensure the juices redistribute throughout the meat.
- Fry only two pieces of chicken at a time to prevent the oil temperature from dropping drastically when adding cold meat.
Common Mistakes to Avoid
- Failing to pound the chicken thin results in an uneven exterior, where the crust burns before the center is fully cooked.
- Crowding the pan lowers the oil temperature, which causes the crust to absorb excess oil and become soggy instead of crispy.
- Skipping the seasoning in the flour leaves the crust bland, so always taste a small amount of the seasoned flour before frying.
- Reusing oil that contains heavy sediment leads to a bitter, dark crust that masks the fresh flavor of the spices.
Variations and Substitutions
| Ingredient | Substitution | Impact on Flavor |
| Cayenne | Chili Powder | Reduces heat, adds earthy notes |
| Whole Milk | Plain Yogurt | Adds slight tang, maintains adhesion |
| Vegetable Oil | Peanut Oil | Cleaner finish, higher smoke point |
Serving Suggestions and Pairings
Serve this dish alongside creamy mashed potatoes and sautéed green beans for a classic Southern dinner. It also pairs exceptionally well with collard greens or a fresh coleslaw to balance the richness of the fried coating. For a casual brunch, place the chicken atop a warm waffle to create a elevated version of chicken and waffles.
Storage and Reheating
| Method | Duration | Instructions |
| Refrigerator | 3 Days | Store in airtight container |
| Oven Reheat | 15 Minutes | Bake at 375°F until crispy |
| Air Fryer | 6 Minutes | Heat at 350°F until golden |
Nutritional Information
Approximate values per serving.
| Nutrient | Amount per Serving |
| Calories | 480 kcal |
| Protein | 38g |
| Fat | 22g |
| Carbohydrates | 32g |
Frequently Asked Questions
Can I use cornstarch for a crunchier crust?
Incorporating two tablespoons of cornstarch into your flour mixture creates an even lighter and crunchier exterior. This modification helps dissipate moisture from the surface of the crust during high-heat cooking.
How do I know when the chicken is fully cooked?
Chicken is fully cooked when an instant-read thermometer inserted into the thickest part reaches an internal temperature of 165°F. This method remains the most accurate way to ensure safety without any guesswork.
What is the difference between fried chicken and chicken fried chicken?
Fried chicken refers to bone-in pieces prepared with skin on, whereas chicken fried chicken utilizes boneless, skinless breast meat pounded thin. The latter is traditionally served with gravy, mimicking the preparation style of country-fried steak.
Can I prepare the chicken in advance?
You may bread the chicken up to one hour before frying if stored in the refrigerator on a baking sheet. Avoid breading too far in advance, as moisture from the chicken will hydrate the flour and prevent a crispy finish.
Why is my coating falling off?
The coating often detaches if the chicken surface is wet before the initial dredging step. Ensure you pat the chicken breast completely dry with paper towels before starting the breading process.
Mastering this Southern-style dish allows you to bring the authentic flavors of comfort food into your kitchen with ease. By following these precise steps, you produce a crispy, golden crust on juicy breast meat without needing any buttermilk. Enjoy the satisfaction of a perfectly seasoned, homemade meal tonight.
Southern Style Chicken Fried Chicken (No Buttermilk)
Ingredients
- 4 chicken breasts, pounded to 1/2 inch thickness
- 2 cups all-purpose flour
- 2 large eggs
- 1/2 cup whole milk
- 1 tsp cayenne pepper
- 2 tsp paprika
- 1 tbsp kosher salt
- 1 tbsp freshly cracked black pepper
- 3 cups vegetable oil
Instructions
- Pound the chicken breasts between two sheets of plastic wrap until they reach a uniform thickness of one-half inch.
- Combine the flour, salt, black pepper, cayenne, and paprika in a wide, shallow bowl for the dry coating.
- Whisk the eggs and milk together in a separate shallow dish to create the liquid binding station.
- Coat each chicken breast thoroughly in the flour mixture, shaking off any excess.
- Dip the floured chicken into the milk and egg mixture until completely submerged.
- Remove the chicken from the liquid, letting excess drip off, then dip back into the flour mixture for a final coating.
- Heat the vegetable oil in a large skillet to 350°F.
- Carefully place chicken in the oil and fry until golden brown and cooked through, about 3-4 minutes per side.