
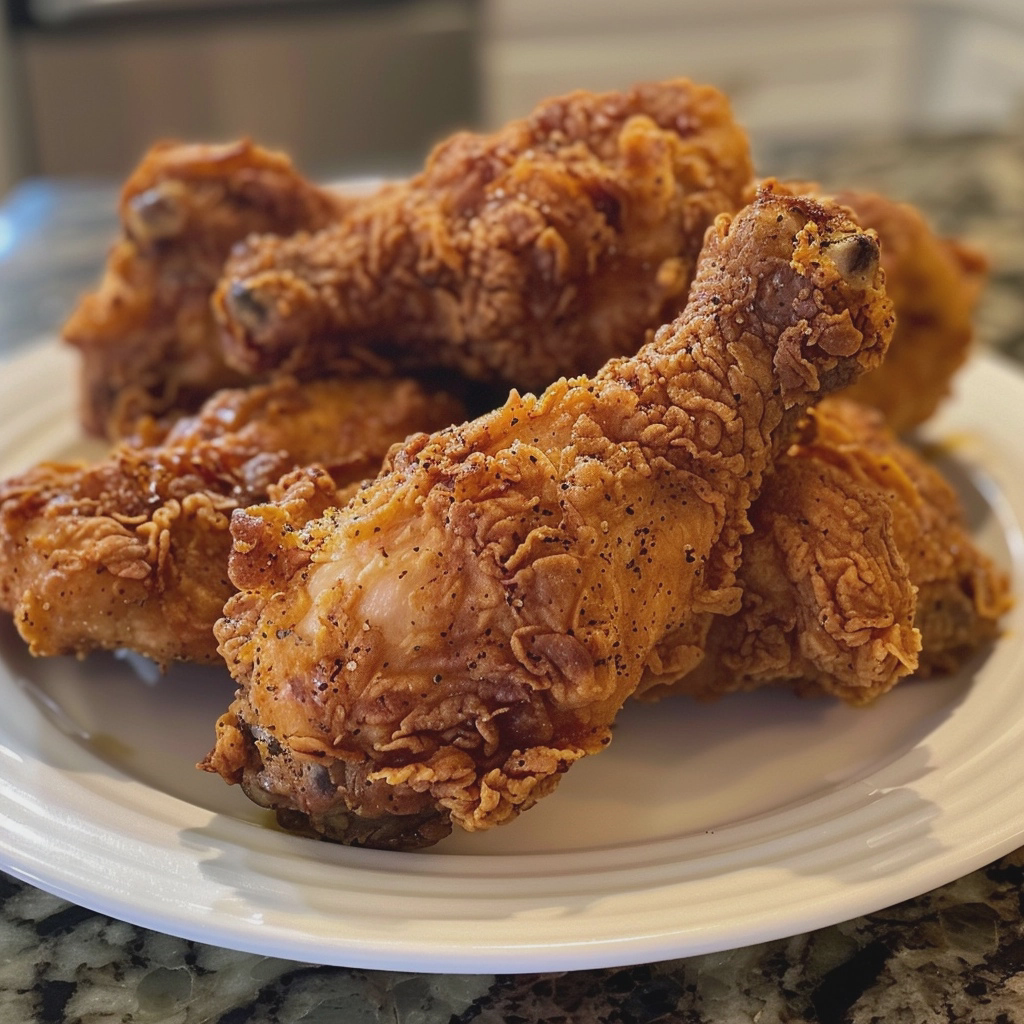
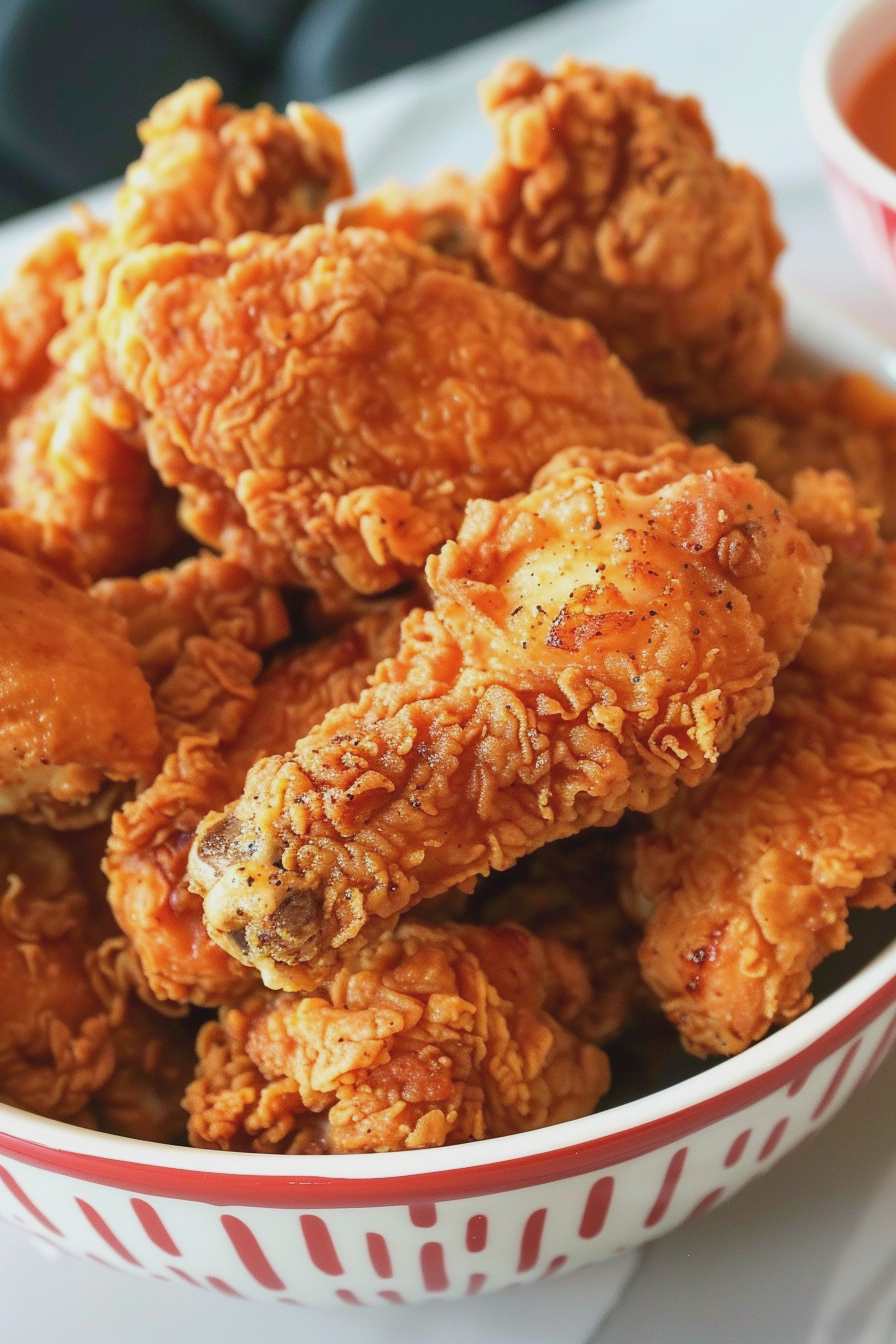
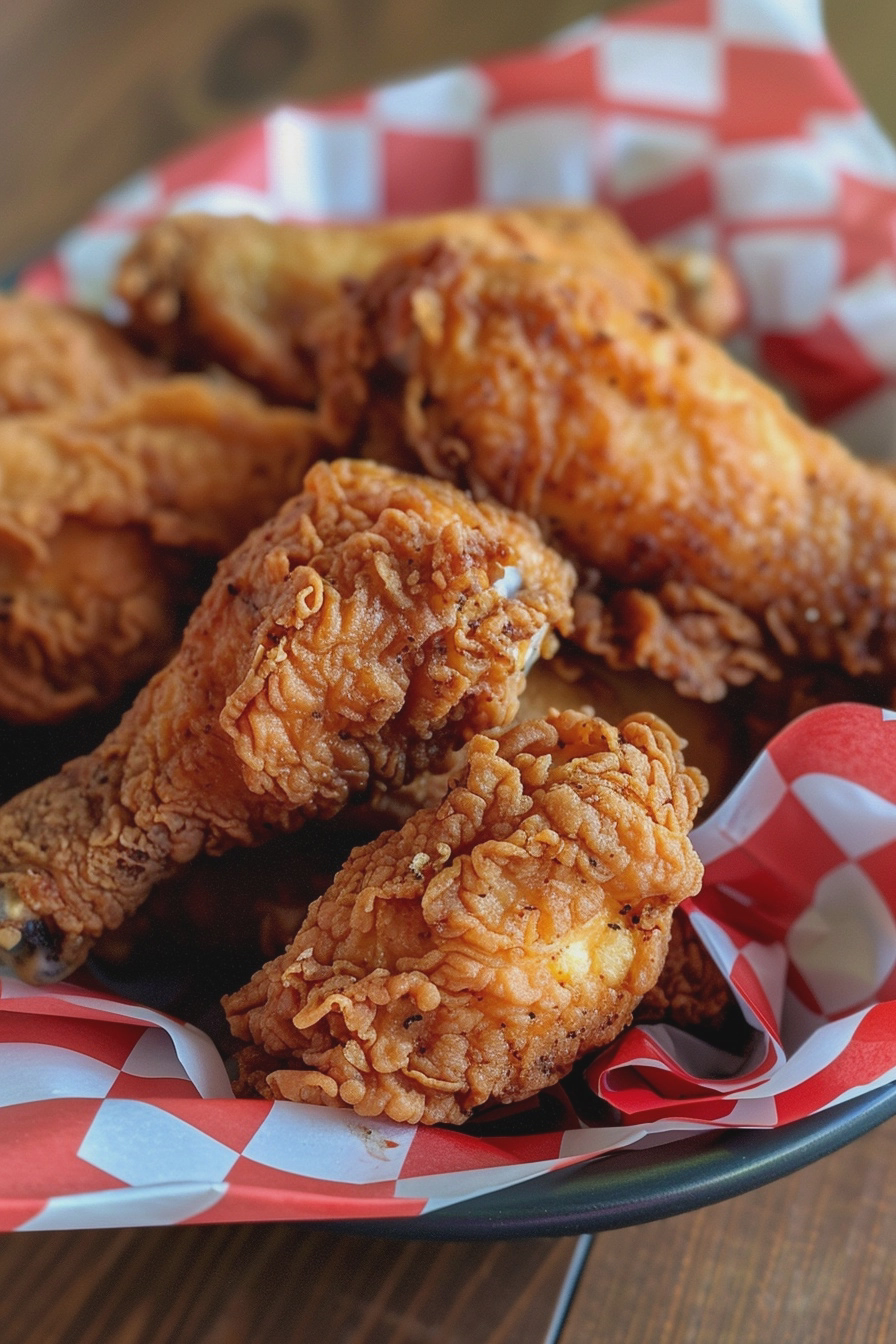
Crispy fried chicken without buttermilk uses a simple egg and milk wash to achieve a golden, shatteringly crunchy exterior. This method relies on proper dredge techniques and oil temperature control to produce restaurant-quality results at home. You achieve the perfect sear and crunch every time by focusing on the chemical reaction between high-heat fat and seasoned flour coatings.
Recipe Overview
| Metric | Details |
|---|---|
| Prep Time | 20 minutes |
| Cook Time | 20 minutes |
| Total Time | 40 minutes |
| Servings | 4 servings |
| Difficulty | Intermediate |
| Cuisine | American |
Why This Recipe Works
This recipe works because it relies on the protein coagulation of eggs and milk to bind the flour firmly to the poultry. Many recipes rely on buttermilk acidity, but a standard milk-egg wash creates an equally effective adhesive surface for spices and wheat flour.
My experience frying chicken shows that moisture control is the secret to success. By drying the meat thoroughly before dredging, you prevent the coating from sliding off during the fry. This technique produces a consistent, stable crust that holds its texture even after cooling slightly.
Ingredients
| Ingredient | Quantity | Notes |
|---|---|---|
| Chicken pieces | 2 lbs | Bone-in, skin-on preferred |
| All-purpose flour | 2 cups | Use self-rising for extra fluffiness |
| Eggs | 2 large | Whisked thoroughly |
| Milk | 1/2 cup | Whole milk provides better adhesion |
| Paprika | 1 tbsp | Smoked paprika adds depth |
| Garlic powder | 1 tbsp | Essential for savory depth |
| Salt | 2 tsp | Adjust based on preference |
| Pepper | 1 tsp | Freshly cracked black pepper |
| Oil for frying | 4 cups | Neutral oil like canola or vegetable |
Step-by-Step Instructions
Preparation
- Pat the chicken pieces dry using paper towels to ensure the coating adheres properly.
- Whisk the eggs and milk together in a shallow bowl until the mixture is uniform.
- Combine the flour, paprika, garlic powder, salt, and pepper in a separate deep dish.
Dredging and Frying
- Dip each piece of chicken into the milk and egg mixture, ensuring it is fully coated.
- Dredge the moistened chicken in the flour mixture, pressing down firmly to create a thick crust.
- Heat the oil in a deep heavy-bottomed pot or Dutch oven until it reaches 350 degrees Fahrenheit.
- Fry the chicken in small batches for 12 to 15 minutes, turning once until golden brown.
- Drain the cooked chicken on a wire rack to maintain the crispy texture of the skin.
Chef Tips for Perfect Results
- Maintain a consistent oil temperature of 350 degrees Fahrenheit using a deep-fry thermometer.
- Avoid overcrowding the pot as it causes the oil temperature to drop and leads to greasy chicken.
- Press the flour firmly into the nooks and crannies of the chicken to ensure a complete, thick crust.
- Rest your breaded chicken on a wire rack for 10 minutes before frying to allow the coating to set.
- Use a wire cooling rack rather than paper towels after frying to prevent the bottom of the chicken from steaming.
Common Mistakes to Avoid
- Frying cold chicken leads to uneven cooking; always bring chicken to room temperature before frying.
- Using the wrong oil smoke point causes burnt flavors; select refined oils like vegetable or peanut oil.
- Skipping the drying phase results in a soggy crust that does not adhere during the frying process.
- Crowding the pot causes a temperature crash which makes the chicken absorb excess oil rather than frying.
Variations and Substitutions
| Ingredient | Substitution | Impact on Flavor |
|---|---|---|
| All-purpose flour | Cornstarch | Increases crunchiness significantly |
| Paprika | Cayenne pepper | Adds a spicy heat profile |
| Milk | Plain yogurt | Increases tanginess slightly |
Serving Suggestions and Pairings
Serve this fried chicken with classic coleslaw to balance the rich fats. Creamy mashed potatoes or honey-glazed cornbread are excellent side dish candidates. For a southern-style spread, consider adding collard greens or macaroni and cheese to round out the meal for dinner guests.
Storage and Reheating
| Method | Duration | Instructions |
|---|---|---|
| Refrigerator | 3 days | Store in airtight container |
| Oven Reheating | 15 min | Heat at 400 degrees Fahrenheit on a rack |
Nutritional Information
Approximate values per serving:
| Nutrient | Amount |
|---|---|
| Calories | 480 kcal |
| Protein | 35g |
| Fat | 22g |
| Carbohydrates | 30g |
Frequently Asked Questions
Can I use cornstarch for a crunchier crust?
You can substitute half of the flour with cornstarch to ensure an extra crispy texture. Cornstarch prevents gluten formation, resulting in a lighter and more delicate crunch.
How do I know when the chicken is fully cooked?
The internal temperature must reach 165 degrees Fahrenheit at the thickest part of the meat. Use a digital meat thermometer to verify the heat without guessing.
Why is my breading falling off during frying?
The breading falls off when the chicken is not dried properly before the first coating. Ensure you pat the skin dry with paper towels to improve adhesion.
Can I prepare the breading ahead of time?
You can bread the chicken up to an hour before frying if stored in the refrigerator. This rest period actually allows the flour to hydrate and stick better to the surface.
What is the best way to keep fried chicken warm?
Keep the chicken warm in a low-temperature oven set to 200 degrees Fahrenheit on a wire rack. Avoid covering it with foil, as that traps steam and ruins the crispiness.
Conclusion
Mastering crispy fried chicken without buttermilk proves that you do not need fermented dairy for incredible results. By using a simple egg wash and proper temperature management, you achieve the perfect crunch every single time. Enjoy this golden, savory dish at your next family gathering for guaranteed success. The combination of garlic, paprika, and a sturdy flour crust creates a flavor profile that stands the test of time and satisfies every appetite.
Crispy Fried Chicken Without Buttermilk
Ingredients
- 2 lbs chicken pieces (bone-in, skin-on)
- 2 cups all-purpose flour
- 2 large eggs
- 1/2 cup whole milk
- 1 tbsp smoked paprika
- 1 tbsp garlic powder
- 2 tsp salt
- 1 tsp black pepper
- 4 cups neutral oil (canola or vegetable)
Instructions
- Pat chicken pieces thoroughly dry with paper towels to ensure coating adhesion.
- Whisk eggs and milk in a shallow bowl until uniform.
- Combine flour, paprika, garlic powder, salt, and pepper in a separate deep dish.
- Dip each piece of chicken into the milk-egg mixture until fully coated.
- Dredge the moistened chicken in the flour mixture, pressing down firmly to establish a thick crust.
- Heat oil in a deep heavy-bottomed pot or Dutch oven until it reaches 350 degrees Fahrenheit.
- Carefully place chicken in oil in small batches to maintain temperature.
- Fry for 12 to 15 minutes, turning once, until the crust is deep golden brown and the internal temperature is safe.
- Transfer chicken to a wire rack to drain and rest before serving.